Module Level 1- One Point Perspective Pt 1
What is One-Point Perspective?
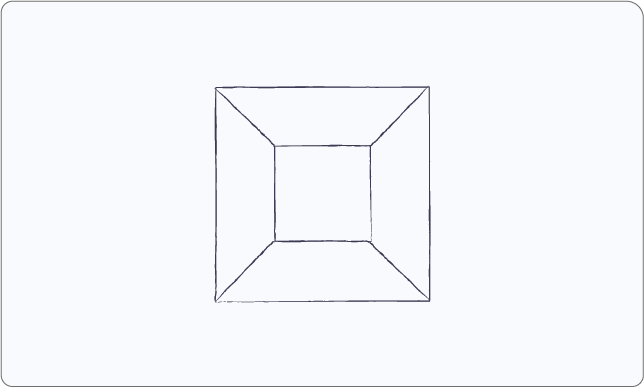
One-point perspective, also known as frontal or central perspective (directly facing the viewer), creates a scene with a strong sense of depth using a single vanishing point on the horizon line. All parallel lines that recede into the distance appear to converge at this point and are parallel with the viewer’s line of sight.
Within composition, one point is normally used for establishing shots within a scene or frame, revealing the entire setting.
Module Objectives
While doing these tutorials, you will improve upon the following:
Key Concepts:
Master the principles of one-point perspective.
Confidently draw cubes, boxes, and other simple objects in one-point perspective.
Identifying the horizon line and vanishing point.
How perspective helps create depth and dimension.
Here is an example of what you can achieve with One Point Perspective
“SideNote Worm-Up - If you haven’t warmed up already for drawing make sure you do so with the drawing warmup exercise.”
Tutorial #01 - Drawing Cubes (Rectangular prism)
We will start with the basics and move on to more complex shapes and angles later. It's time to Level Up, let’s get to work!
Step 1 - Determine the Horizon Line:
This rectangle frame represents the page of your piece of paper.
The horizon line is the imaginary line where the sky meets the ground or where the viewer's eye level is.
Draw a horizontal line across the centre of your paper to represent the horizon line.
Step 2 - Vanishing Point
Next, draw a dot (Indicated with a target icon) in the middle of the horizon line. This is your vanishing point (VP).
Step 3 - Plains / Square
Let's start with a simple square to create our cuboid. Starting with the furthest plain in our view, draw a square in the centre of the page.
Step 4 - Construction Lines
Draw 4 lines converging from the vanishing point to and beyond the square’s four corners. These are the perspective construction lines and edges of your shape. Notice how the four lines recede/extrude into space.
Step 5 - Second Plane
Draw a square further away from the vanishing point using the perspective lines. Creating a larger square.
Step 6 / 7 - Erase lines to reveal the final shape
Erase the lines that are no longer needed to reveal the cube in 3-dimensional space.
Step 8 - Final Shape
Add rendering to your shape to give it life. I’ve just added some colours to further show each plain of our cuboid. The best way to apply this to real life is to imagine you are looking at an empty rook straight on.
Activity
Let’s try the technique we’ve just learned! To produce the above shape, use a light grey Copic marker (or any other kind of marker) to draw your construction lines on your sheet of paper. Outline the sand with a black fine-liner marker or pen.
Share it online with the hashtag #EkaPerspectiveOnePoint
Next Steps
You’re on your way to reaching the next level. Let’s keep collecting that XP with part 2 of our one-point perfective Journey.


